Rooting a Variegated Musa from Thailand
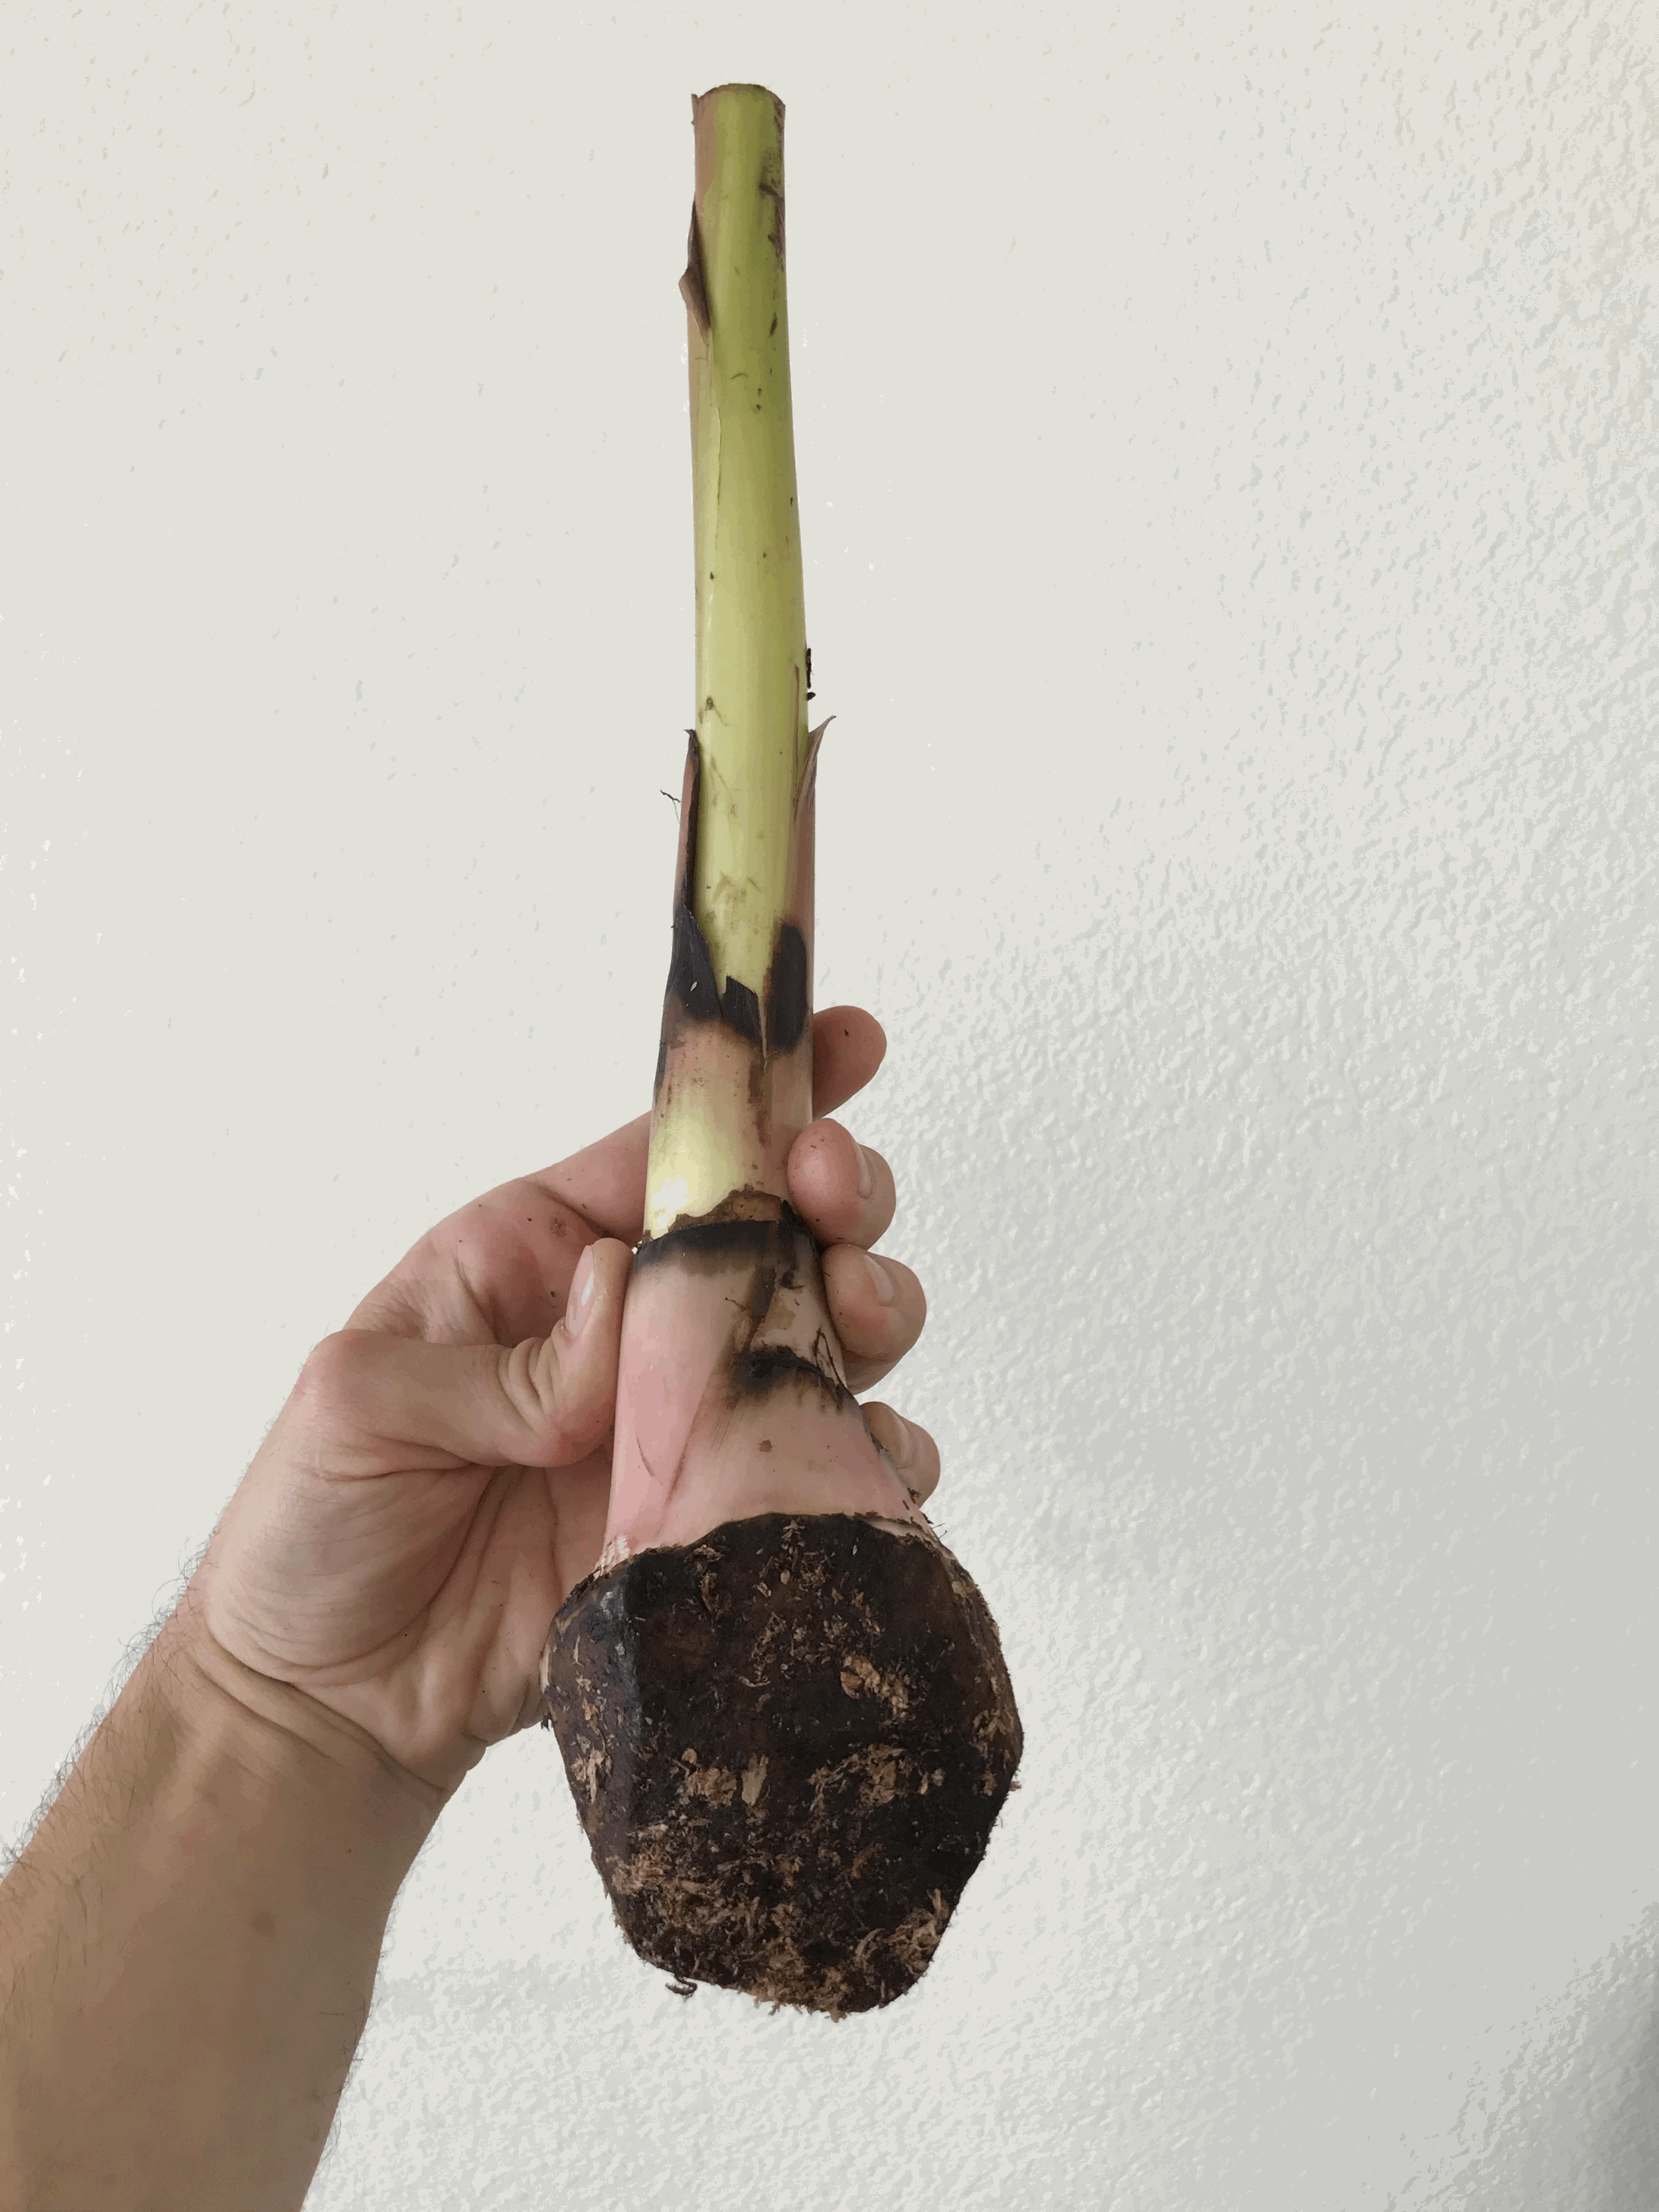
Last year, I was finally able to get my hands on a variegated Musa. I found a seller, got it shipped successfully, finally received it after 3 weeks in the mail, and then I just had one final hurdle: it arrived with no roots and no leaves! I’m so thankful that I did get this very special plant to root successfully and now I am going to show you exactly how I did it. I will also share some things that I would do differently next time.
If you want to watch my video about this, click here.
Let’s dive in!
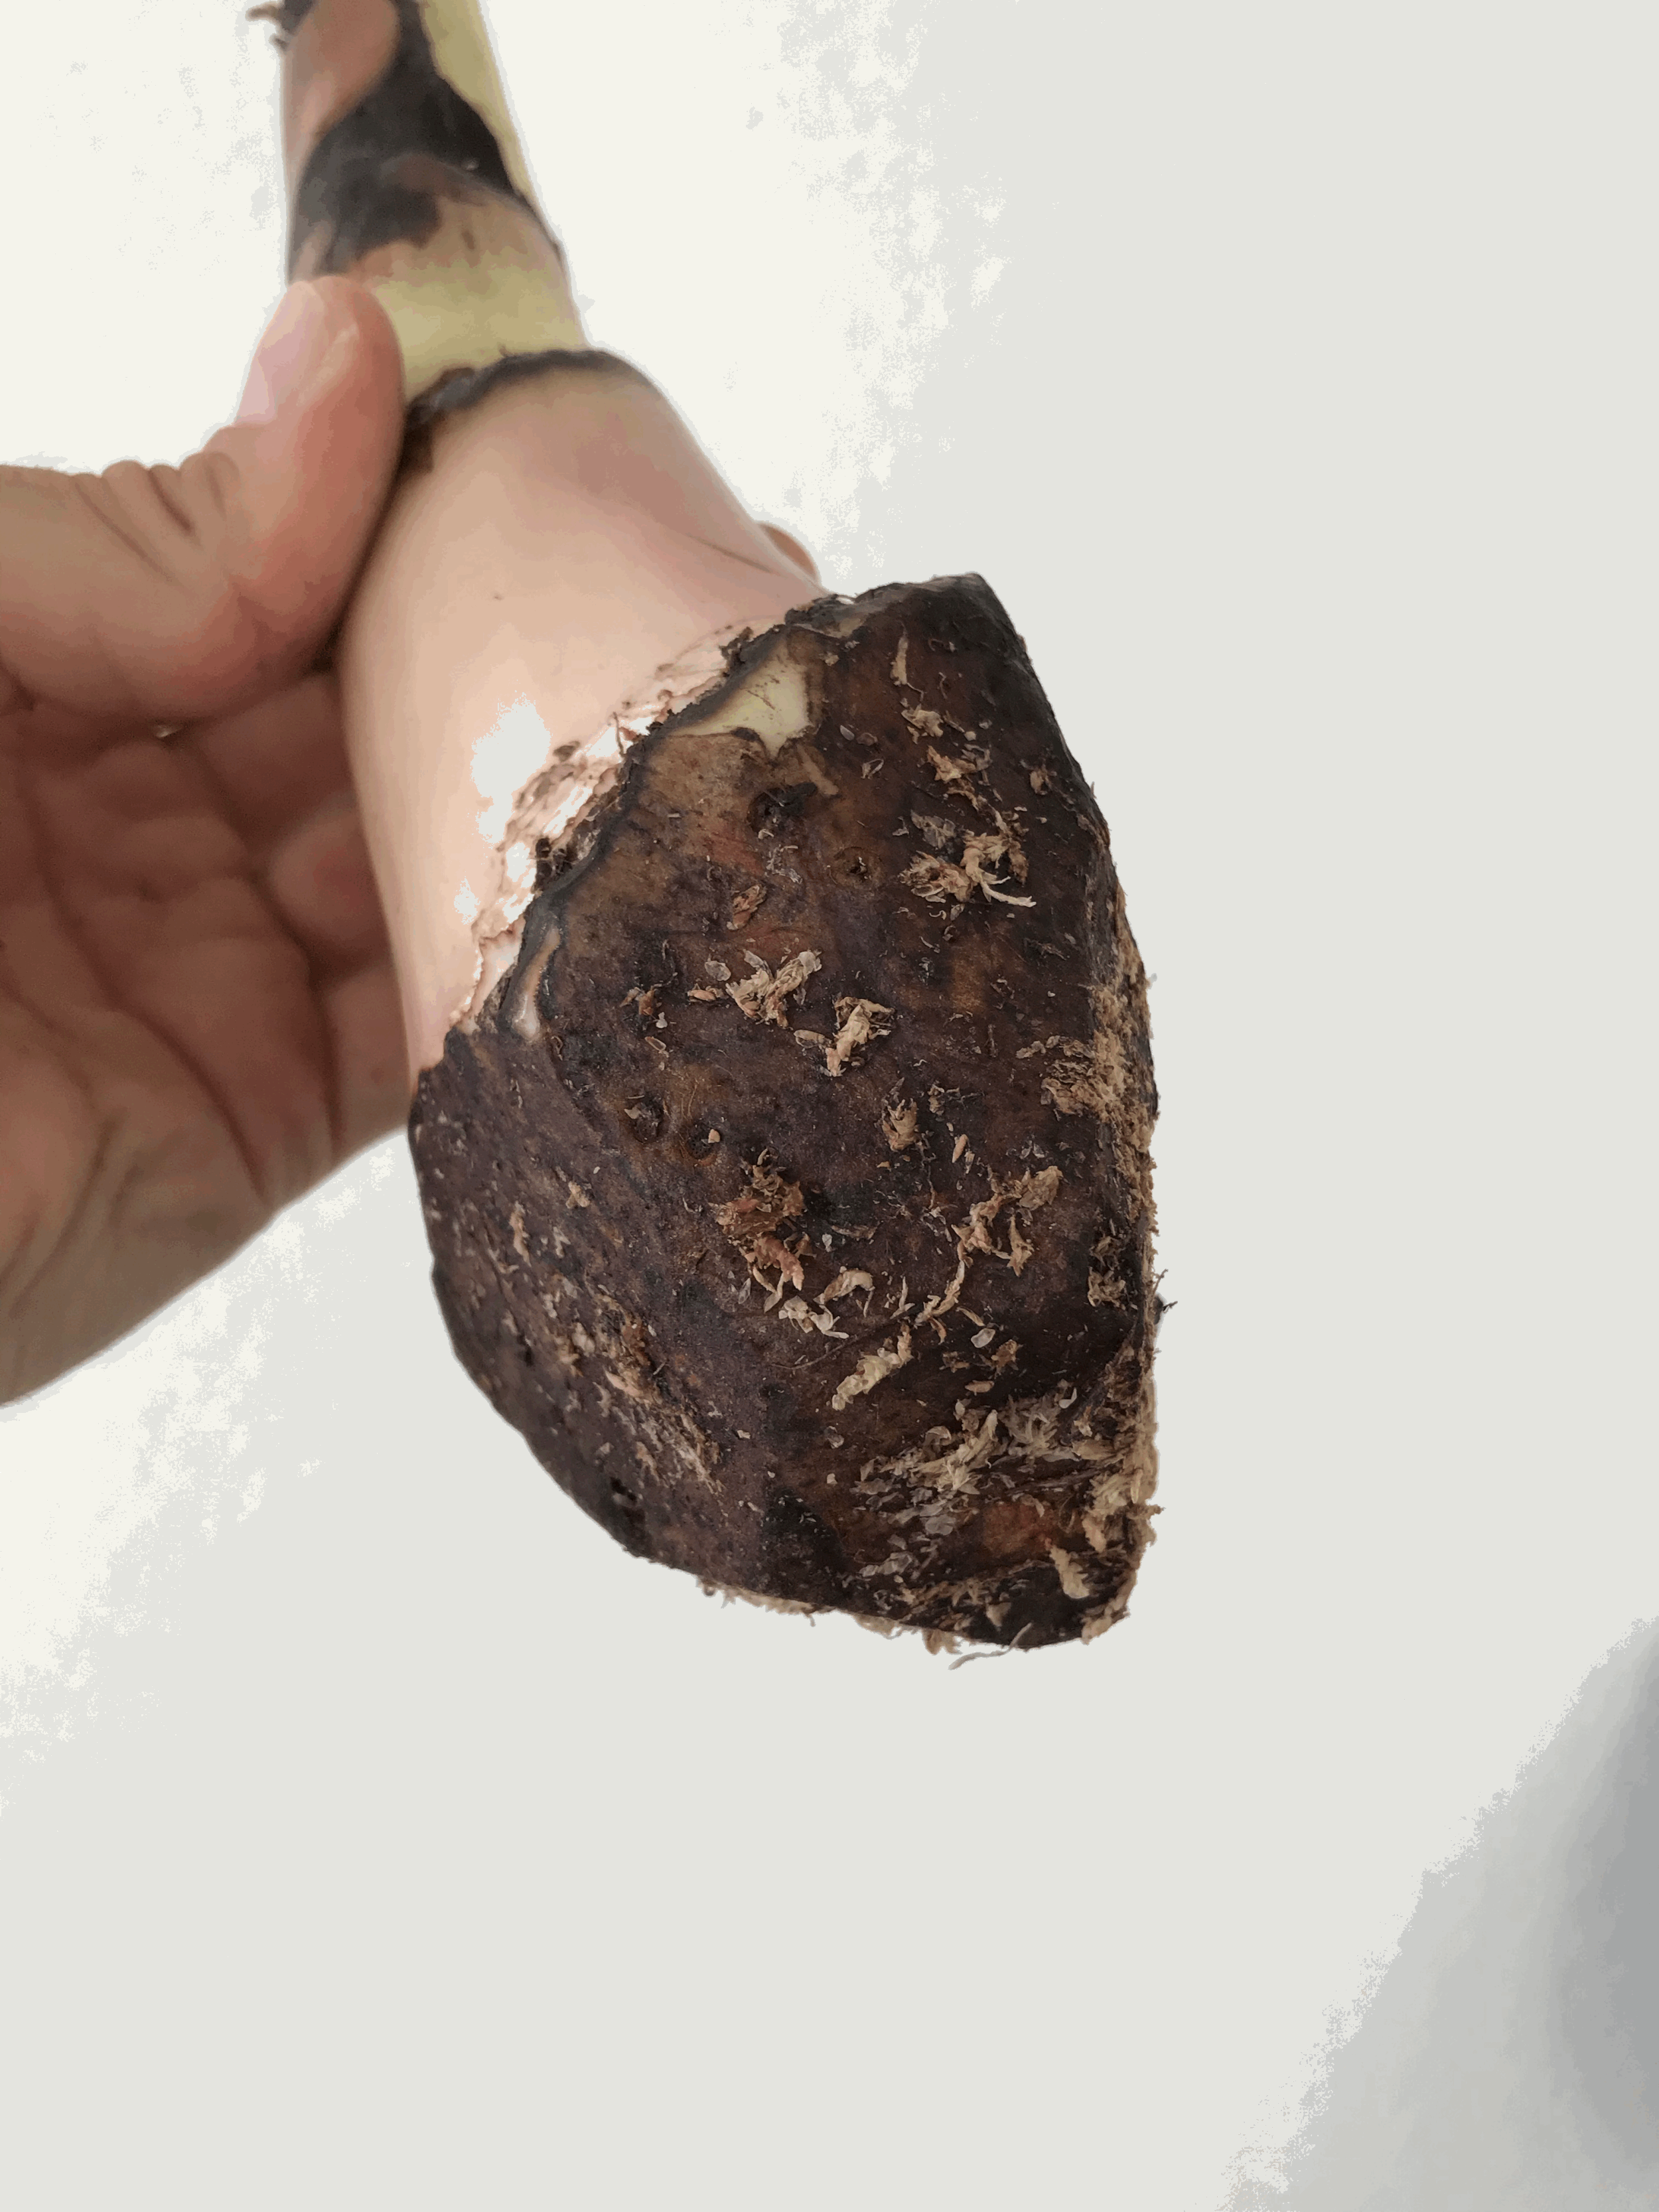
It’s standard practice for banana plants to be shipped without roots or leaves. The corm (the bulb-like part that lives underground) can store plenty of energy and nutrients to handle this type of treatment. The problem is that we need to provide enough moisture to stimulate root growth while ensuring that we don’t allow rot to set in. This is very similar to rooting a stephania - if you missed my post about that, you can find it here.
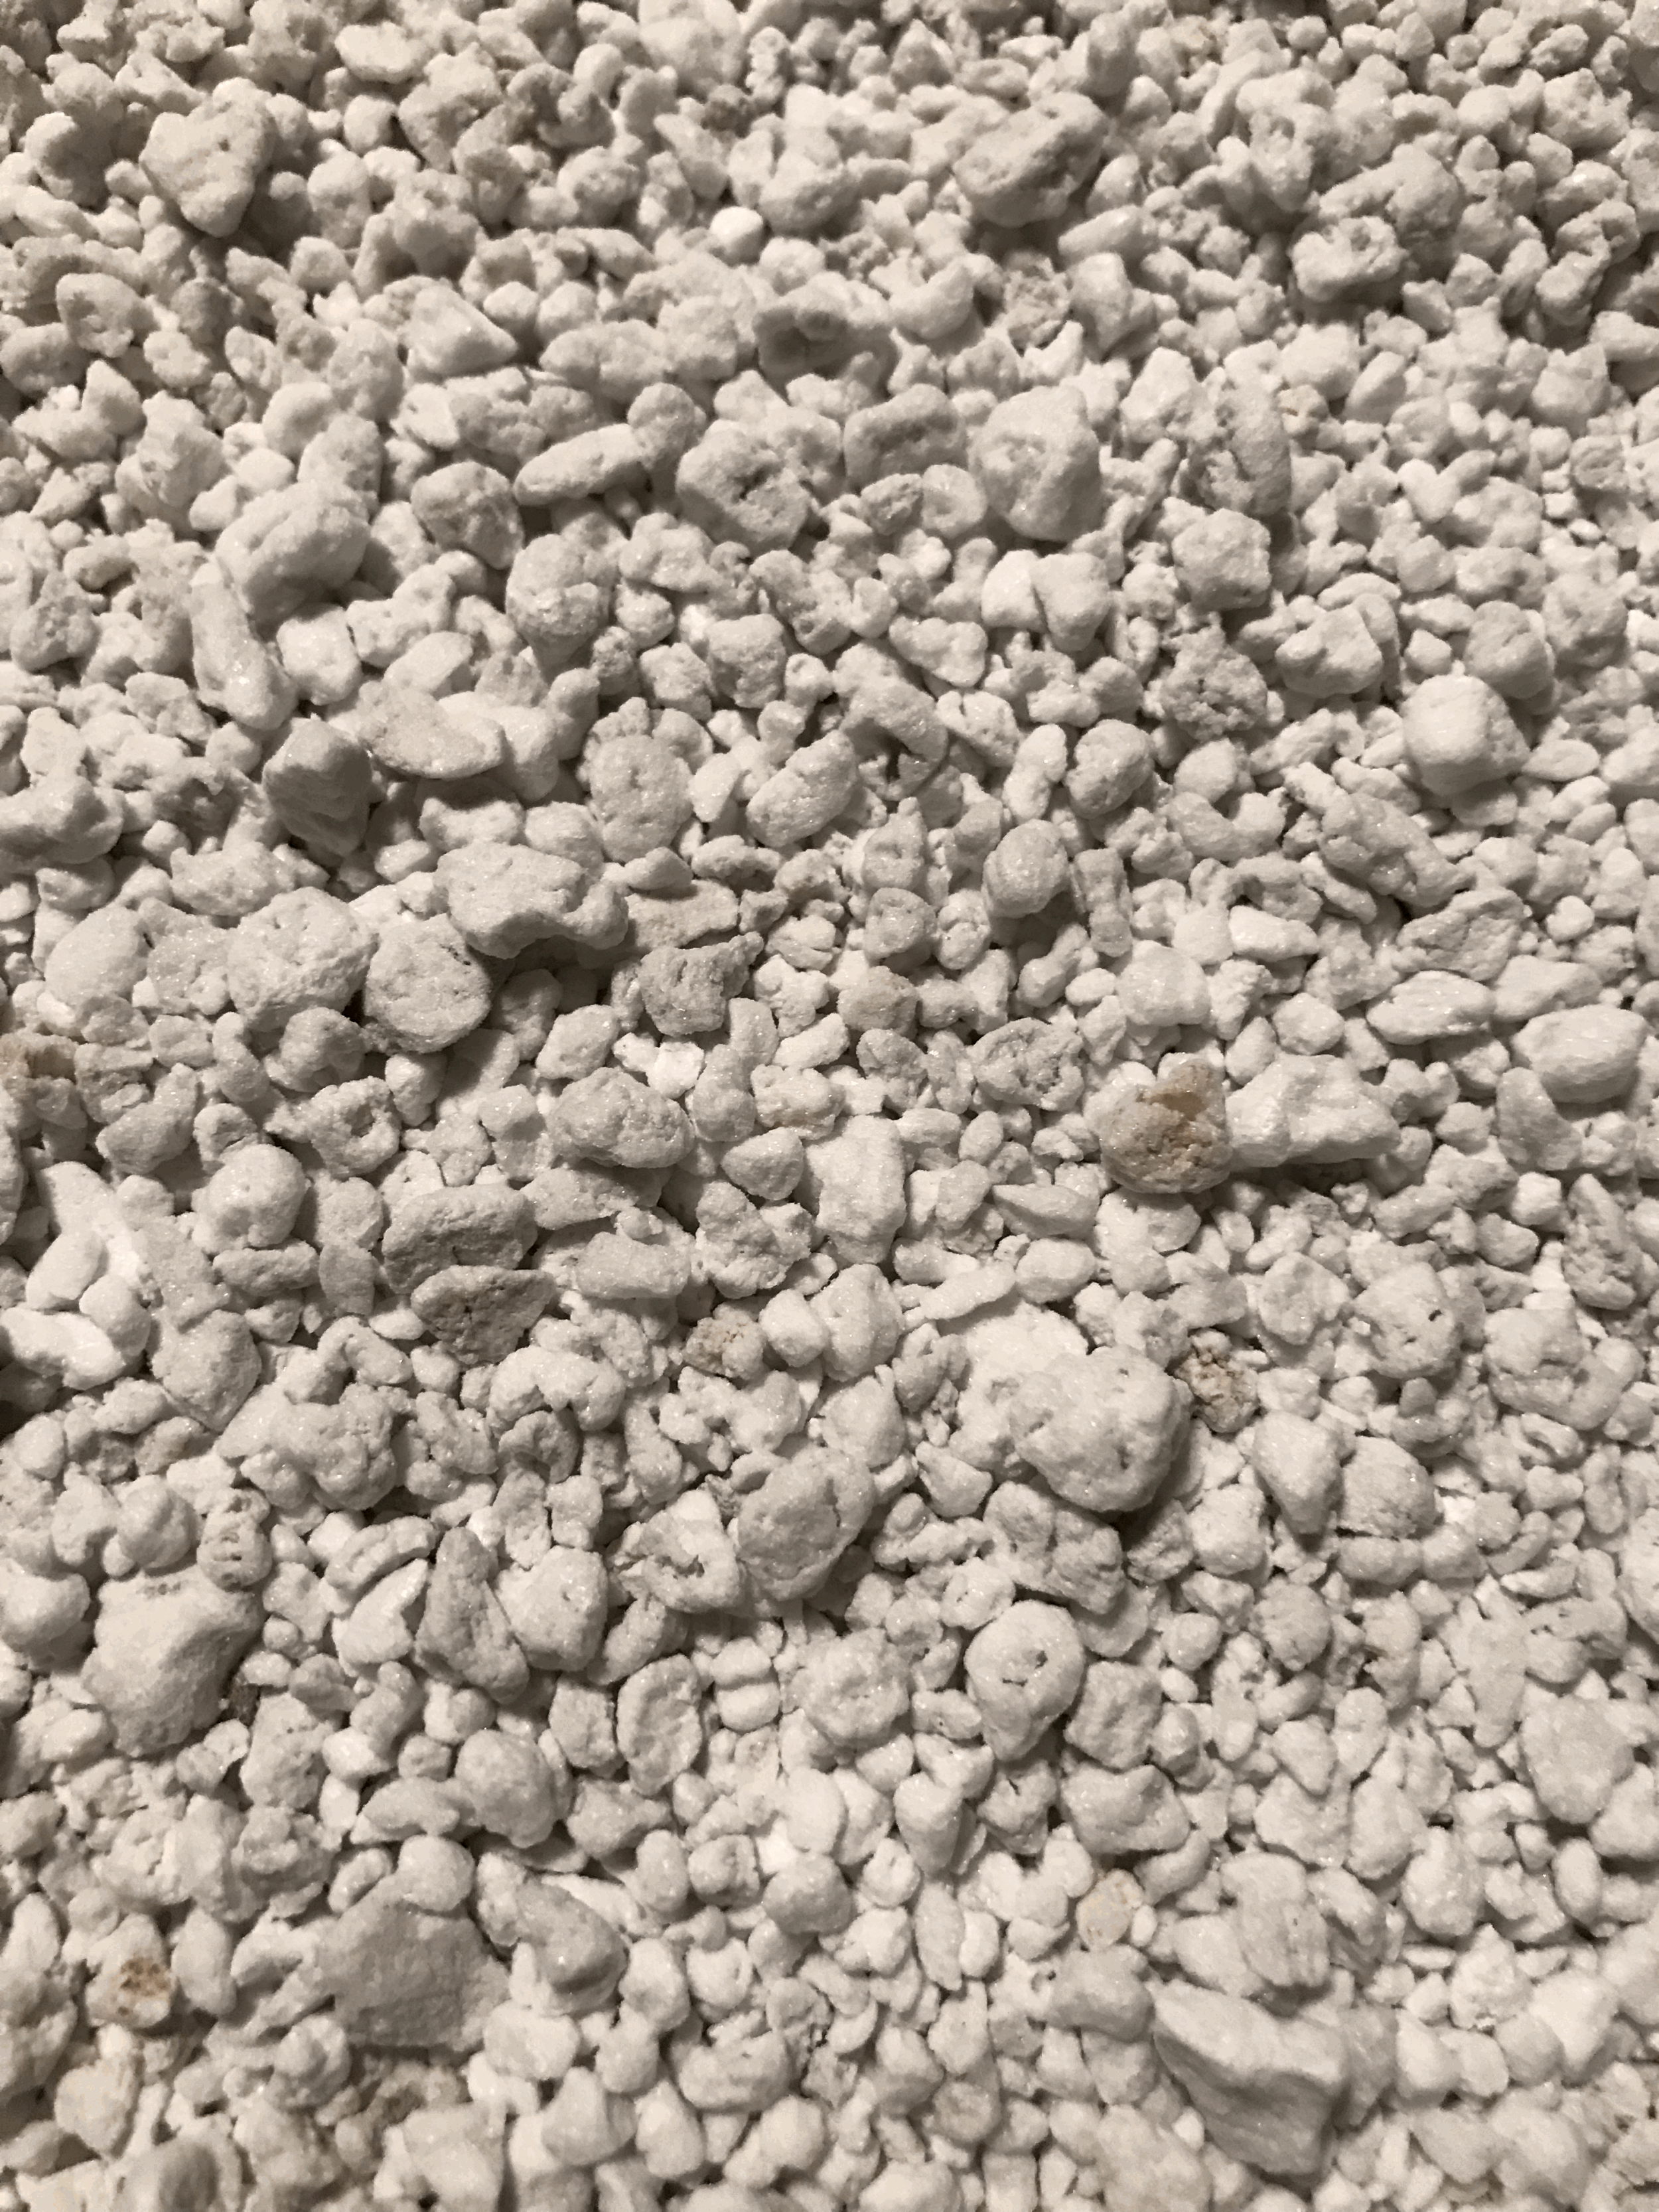
The key is to use a potting medium that allows for plenty of air to reach the corm and root zone.
Warmth also really helps these tropical wonders root more quickly. Since they don’t have any leaves, they will use the moisture in the soil much more slowly than normal; this is why standard potting mixes can cause problems. Once established, musas can drink a lot of water, but in the beginning we have to be careful!
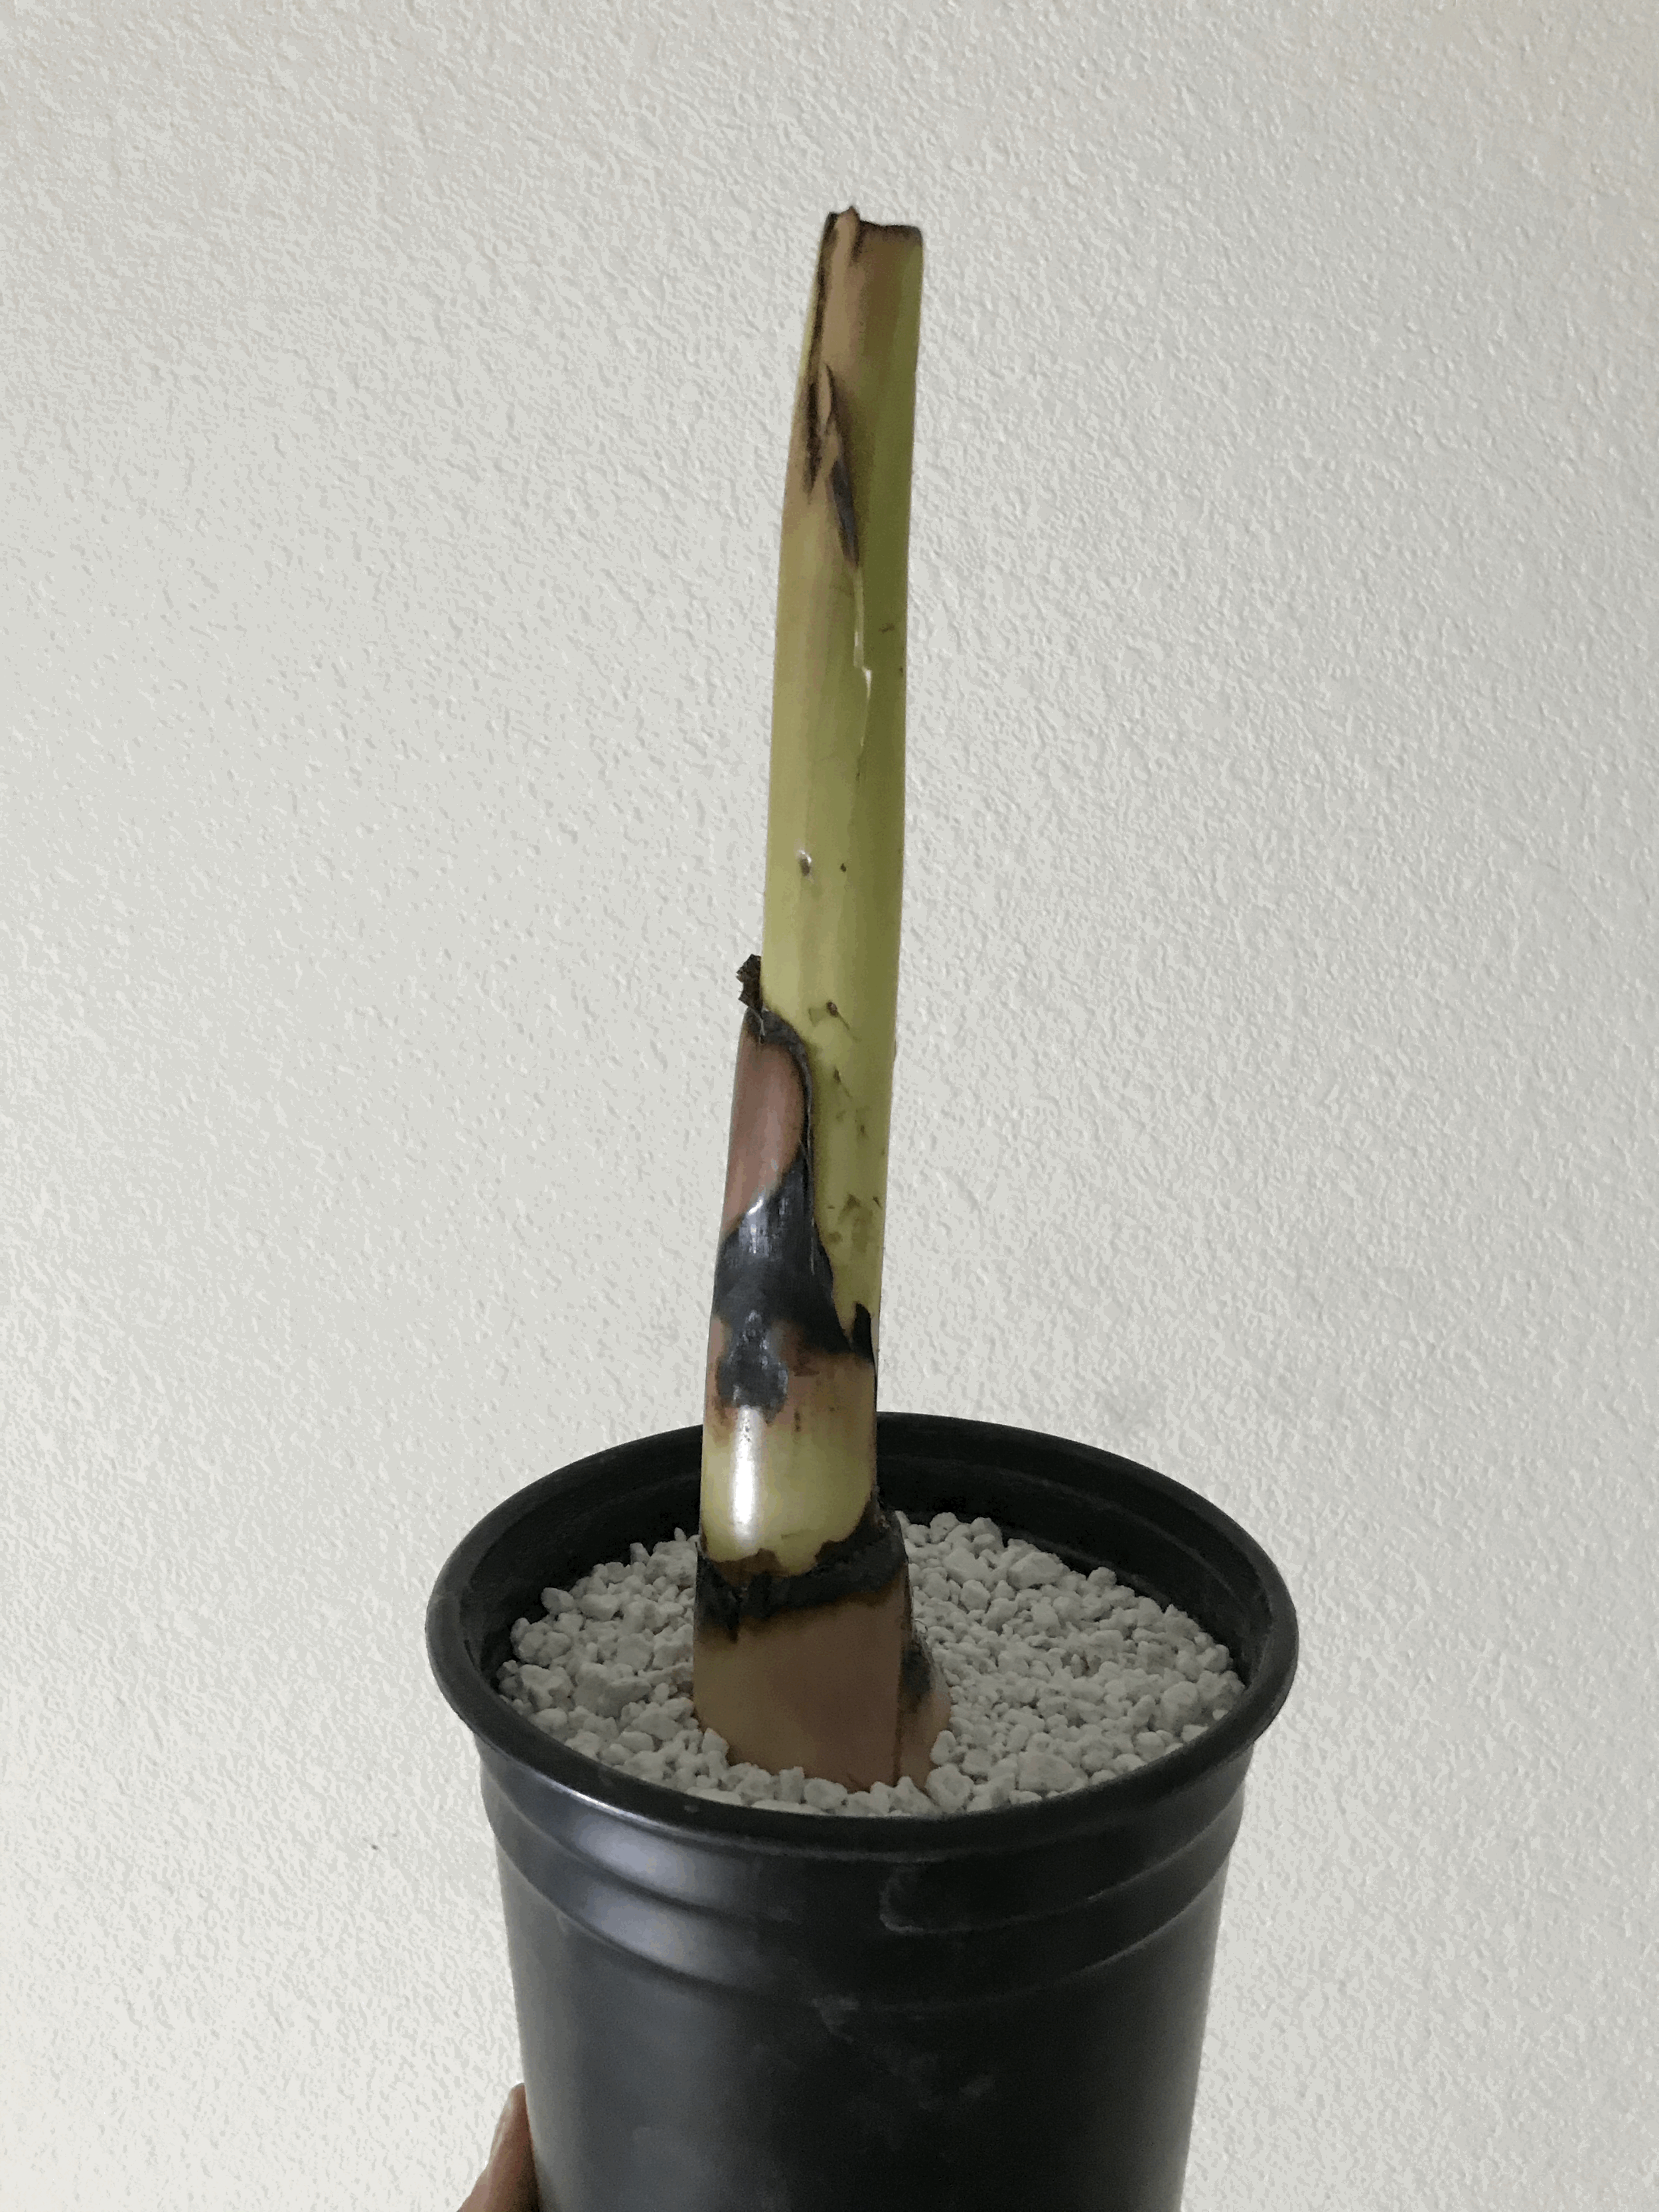
I chose to follow my seller’s recommendation and root mine in pure perlite with a heat mat.
I potted it in a standard 1 gallon pot. I figured that a larger pot of perlite would hold more moisture and require less frequent watering. The problem was that since the pot was so tall, the corm was elevated several inches above the heat mat. A standard 6” pot would have been better, since I could have planted the corm an inch from the bottom, allowing more heat transfer to the plant itself.
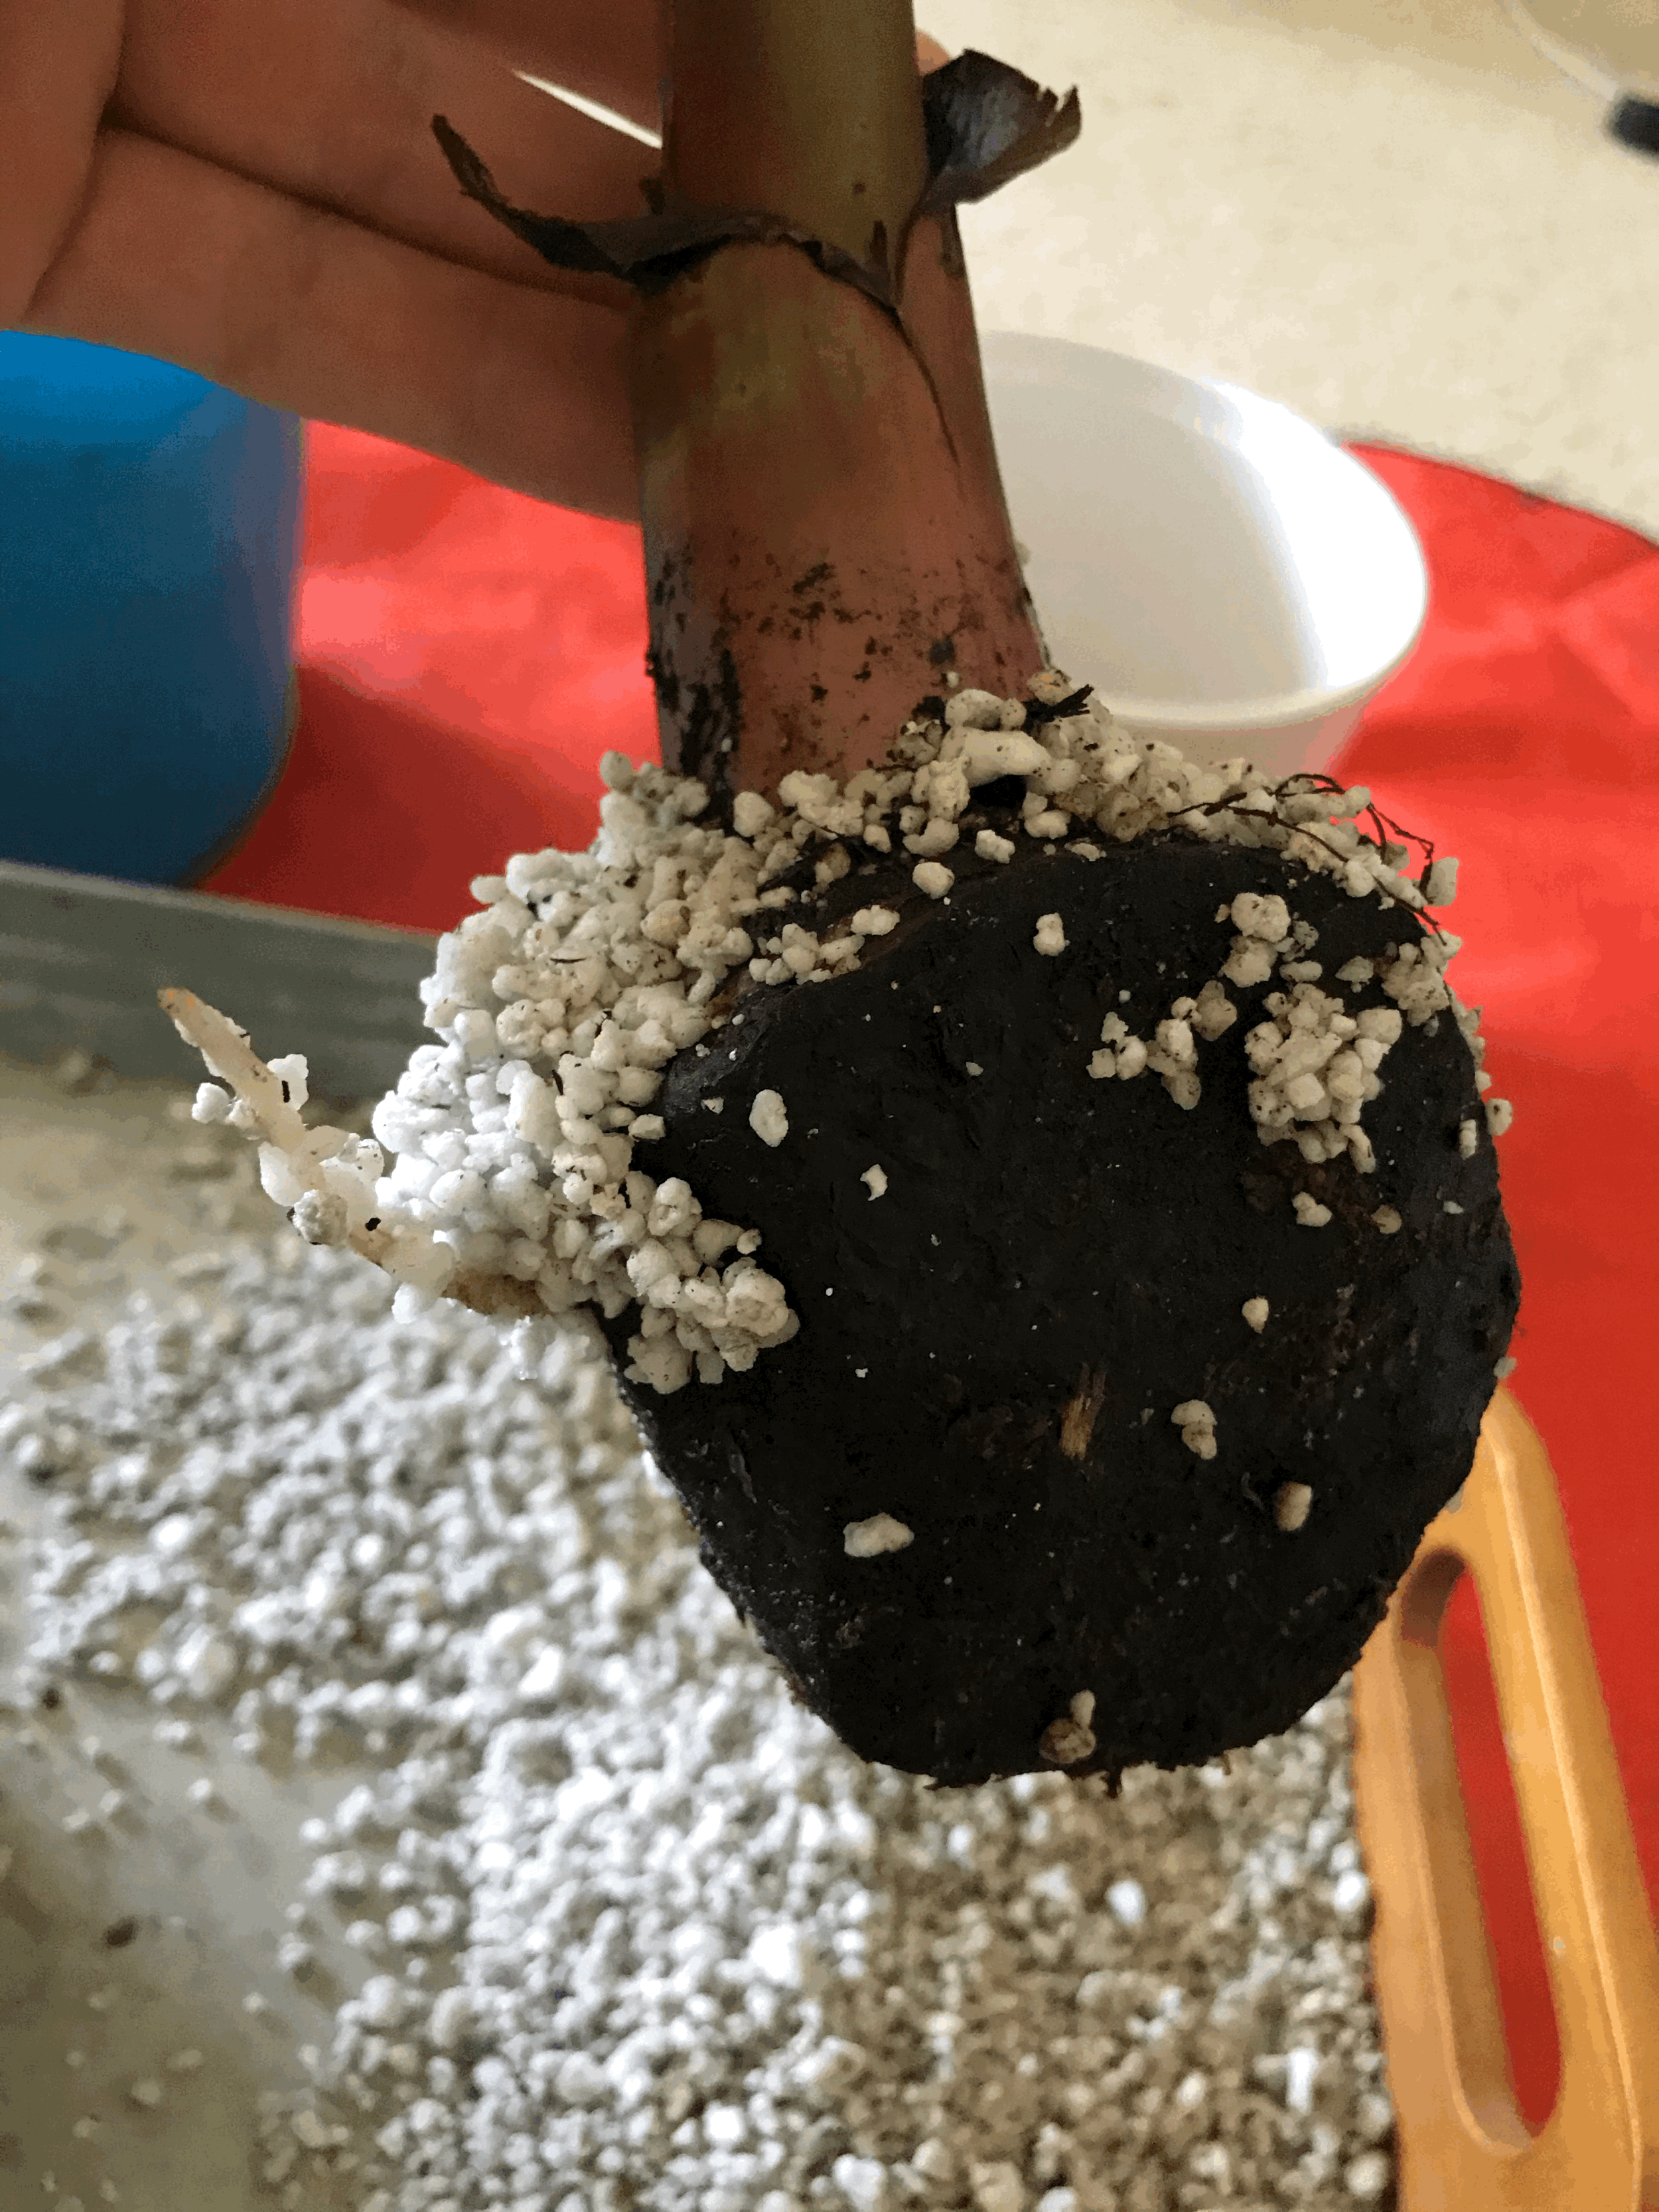
Musas are known for being very vigorous growers, but after a month or so I still had no signs of growth. I decided to pull the corm out of the pot to check for roots. I felt a lot better after seeing that first root!
It’s alive!Once I knew it had started rooting, I switched it into a special 5-1-1 mix of bark, potting soil, perlite. I wanted to give it more moisture and nutrients but I still needed to keep it on the drier and well aerated side to ensure that it didn’t start rotting. I used much smaller bark than normal and I downsized it into a 6” pot so that it wouldn’t stay wet for too long.
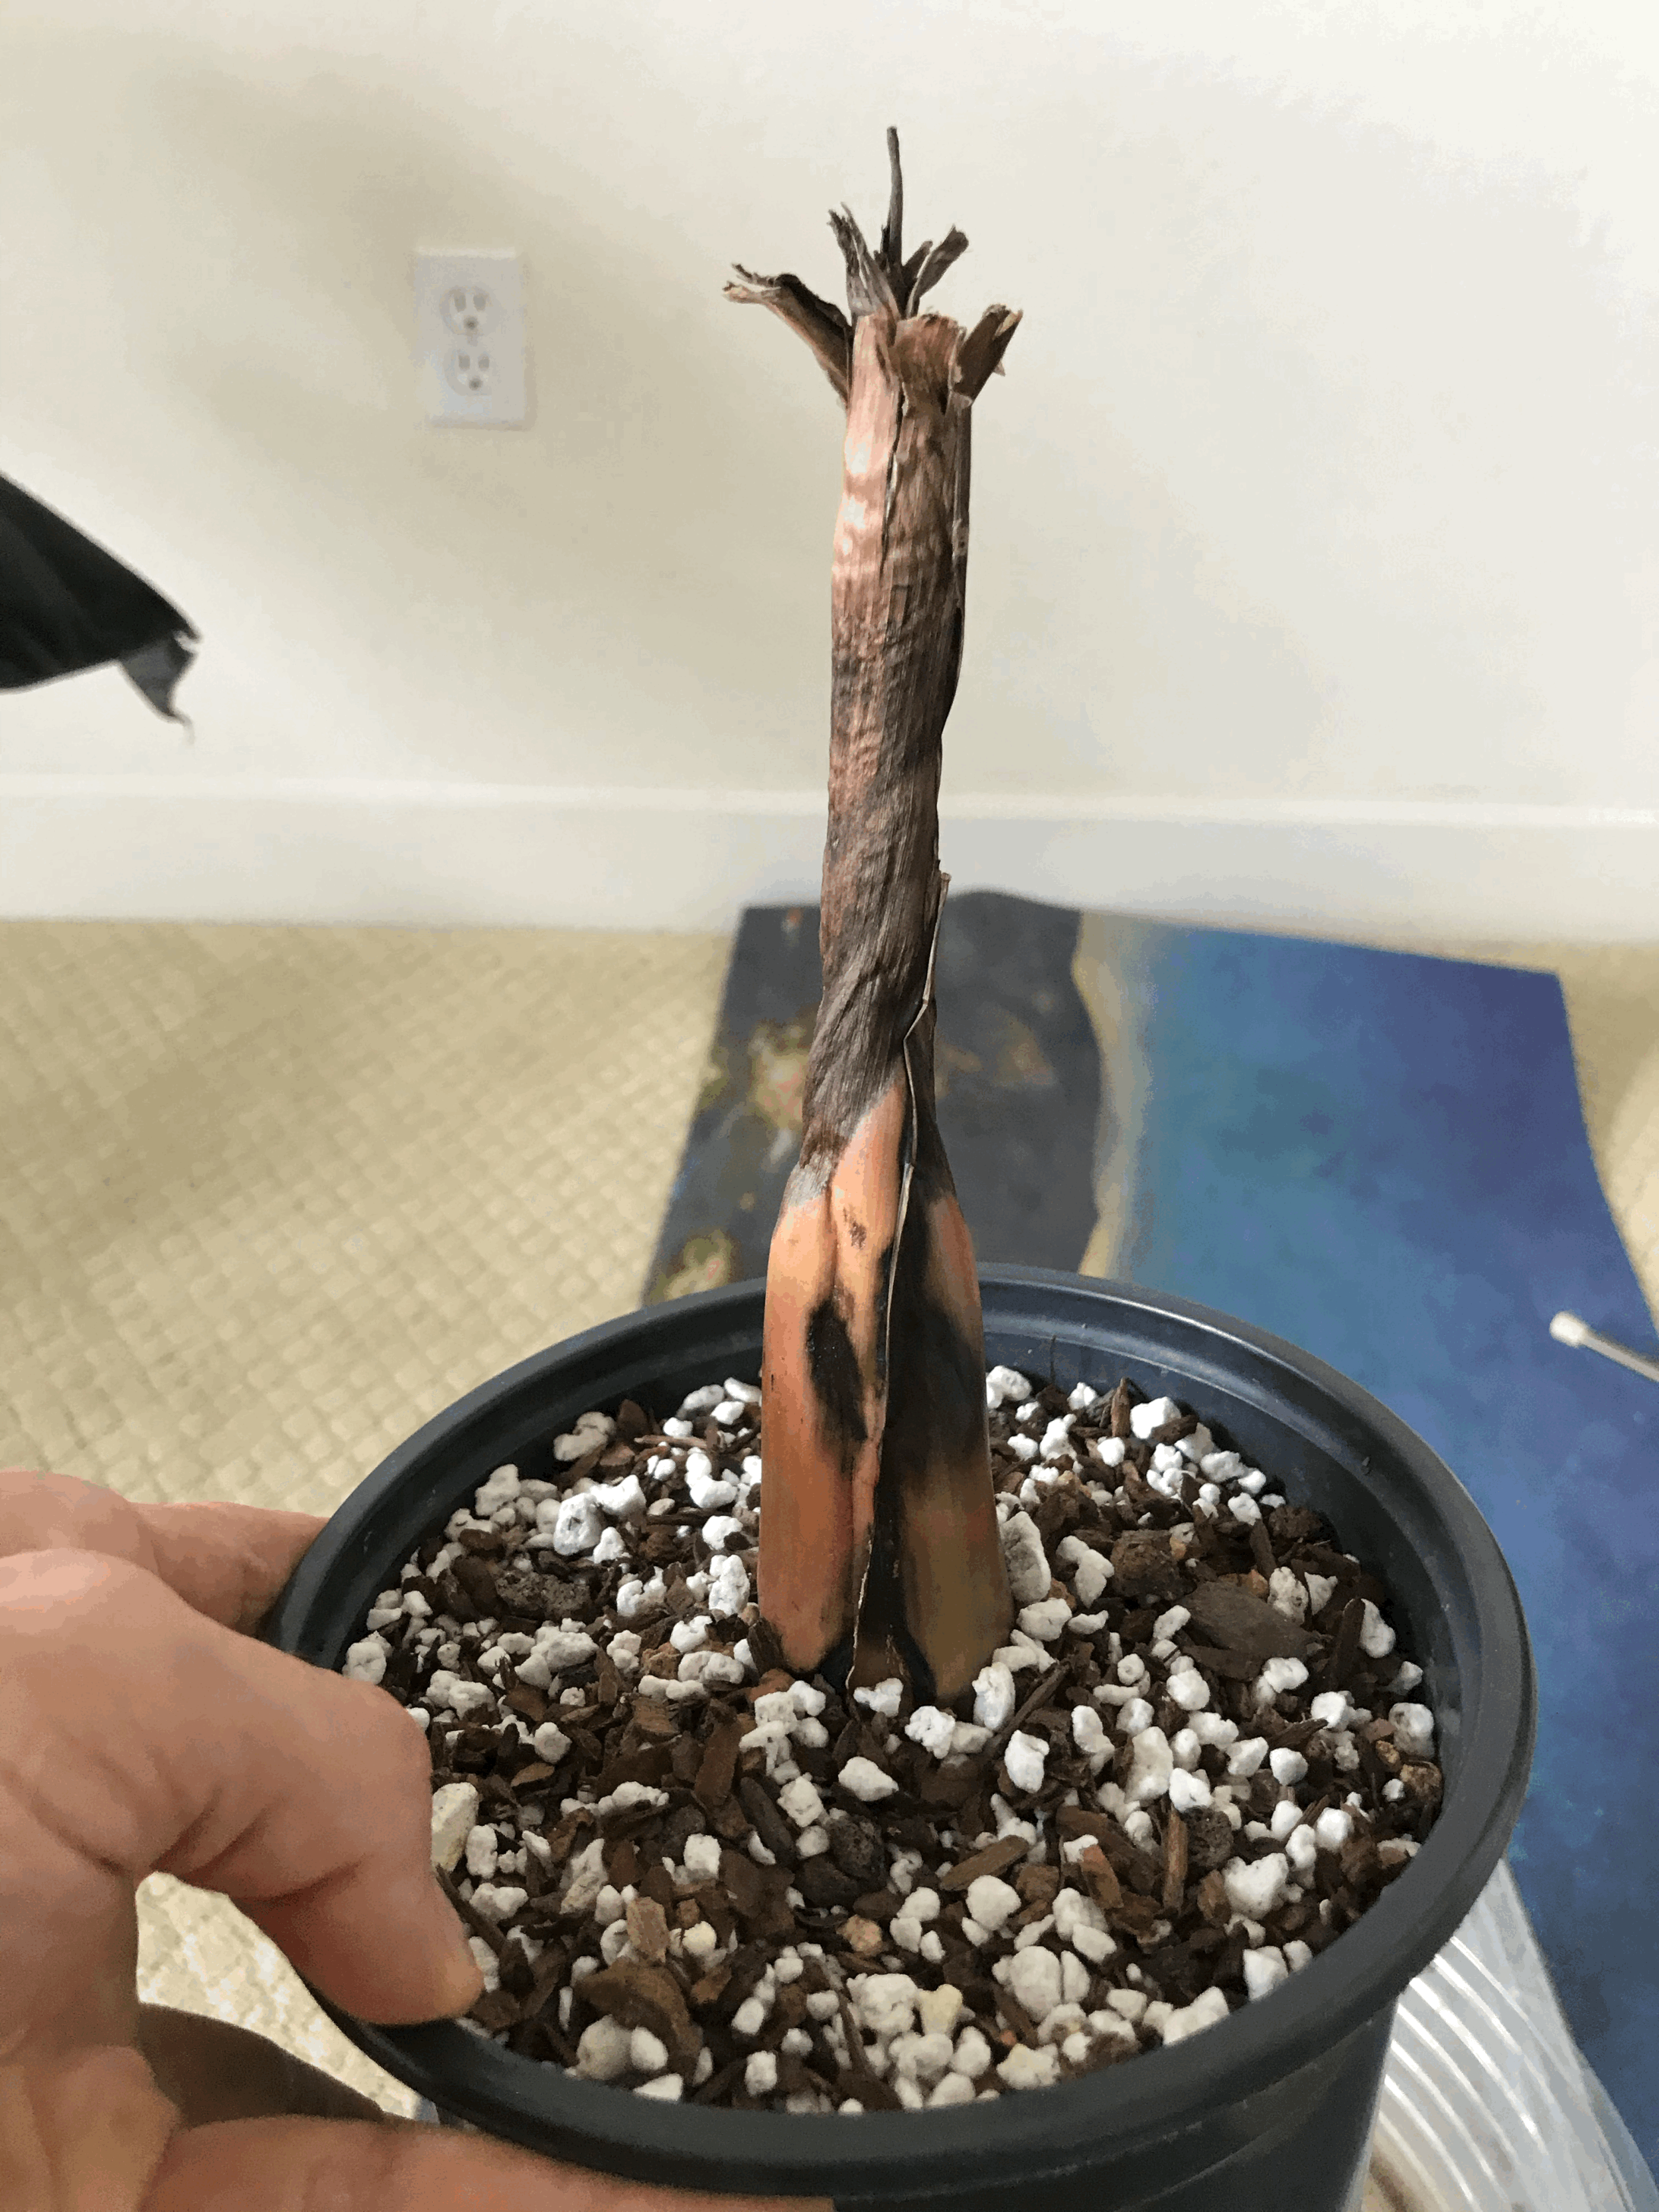
As time went on, the pseudo stem began to get dry, brown, and crispy. I was definitely concerned, but this is completely fine. It’s called a pseudo stem because it’s made purely of older leaf stalks. There is no actual trunk or stem anywhere in there. Since the leaves had already been cut, they were simply shriveling up. You can see how terrible my plant looked after a month or so, but there was nothing to worry about!
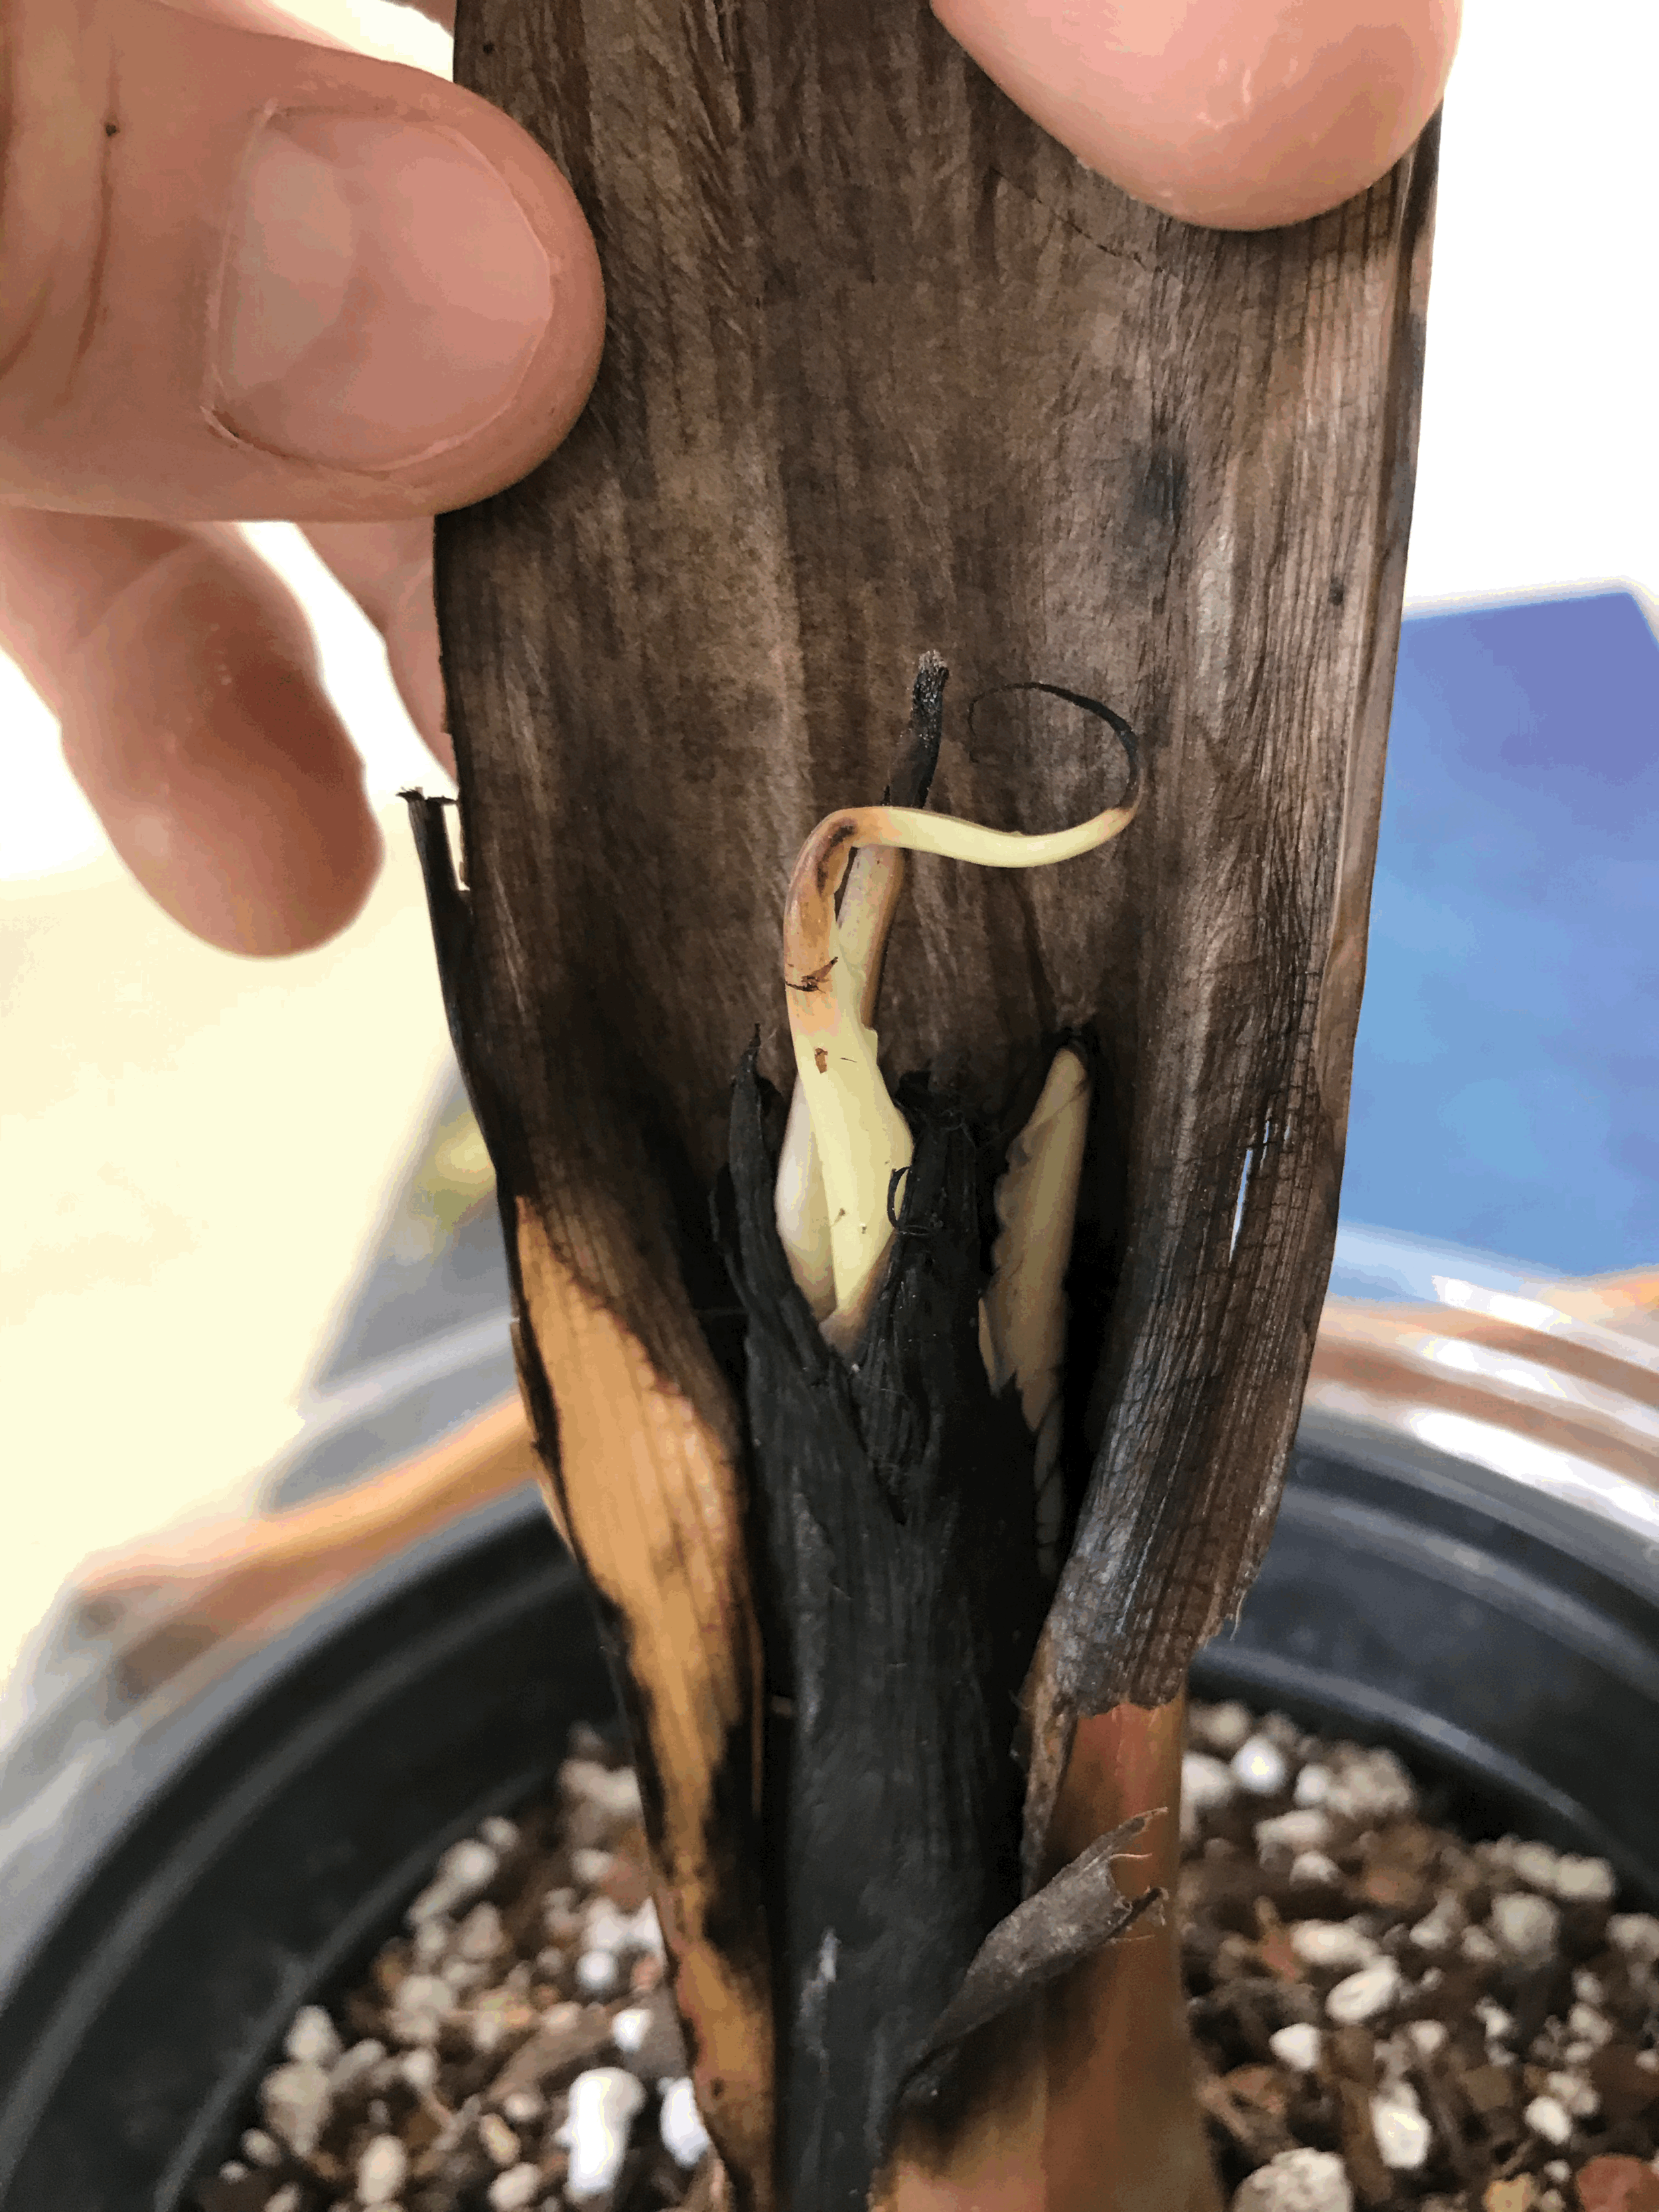
Looking pretty haggard in the 5-1-1!Nothing really happened for many weeks after that and I began to get curious and concerned. The new leaves on a Musa will always grow up through the center so I decided that I had better cut the pseudo stem back until I saw something making it’s way up. What I saw next really surprised me!
The first 3 "albino" leavesThis was emotional. I had proof of three leaves growing but they appeared to be all white! If my plant had truly grown three albino leaves after all of this struggle, it would have had a very slim chance of survival. Luckily, I learned that all of the leaves appear fully white when they are still deep within the pseudo stem. As they continued their upward journey, the first leaf finally revealed its glorious patterning!
Those same leaves all greened upSuccess! It took about 3 full months to root and throw out that first leaf. I think that this time could be shortened considerably with a few changes to my method (updated method below). It also depends how far the plant travels and how long spends in transit. Mine spent 3 full weeks in the mail so it was already starting with a disadvantage.
I am absolutely thrilled to have this plant happily growing in my home now. It seems to be quite easy to care for but I just recently transitioned it to natural light. I was getting some leaf discoloration (pale green) under grow lights which I think was due to under fertilizing. I’ll update you all later once it has spit out some healthy new growth in it’s current location.
What would I do differently next time?
If I ever get the chance to do this again I would absolutely pot it in gritty mix and throw it in the humidity bin. This would ensure steady access to moisture, nutrients, and air. The humidity also provides plenty of warmth so that I wouldn’t need to deal with a heat mat. All of the plants I have growing in gritty mix in my bins are doing very well and only require water once a week. I do believe that this would be an easier and better method for rooting a Musa.
I sincerely hope this helps you on your journey! This is such a wonderful plant. I hope that it makes it’s way into many more homes in the near future.
Cheers and happy growing!

